Connection type - Direct vs Oracle client
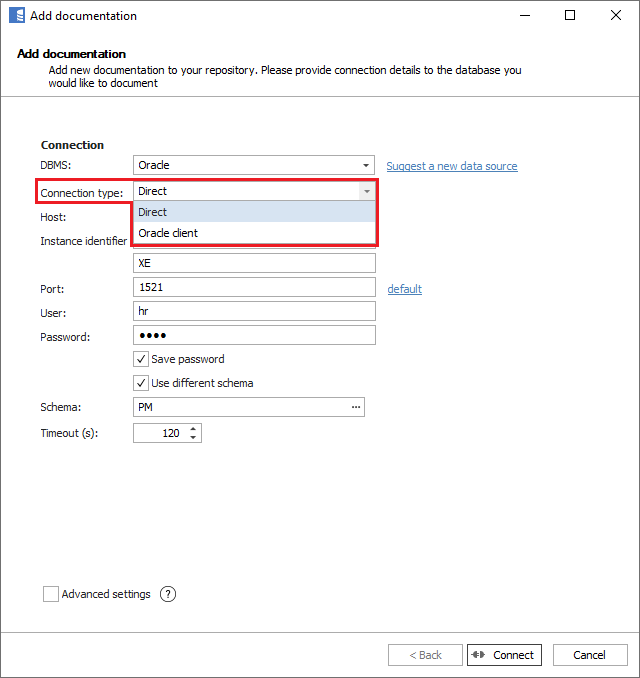
Oracle database supports different connection modes. Dataedo supports now two connection types:
- Oracle client - required Oracle client installed on your machine
- Direct - no client/provider is required
Oracle client 32 vs 64 bit
Dataedo is shipped with 2 executables - 32 bit and 62 bit. Connecting to Oracle requires using the same architecture as Oracle client installed on your machine. It is not determined by the architecture of workstation Windows.
- If you have 32 bit Oracle client run Dataedo (32 bit).
- If you have 64 bit Oracle client run Dataedo (64 bit).
Connecting to Oracle with Oracle Client
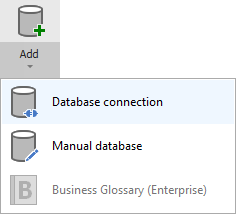
To connect to Oracle database create new documentation by clicking Add documentation and choosing Database connection.
On the connection screen choose Oracle as DBMS.
Provide database connection details:
- Connection type -choose connection type (Direct or Oracle client )
- Host - provide a host name or address where a database is on. E.g. server17, server17.ourdomain.com or 192.168.0.37.
- Service name - type in Oracle instance Service name
- Port - type in Oracle instance port name
- User and password - provide your username and password
- Schema - you can choose schema(s) that you want to import to your documentation
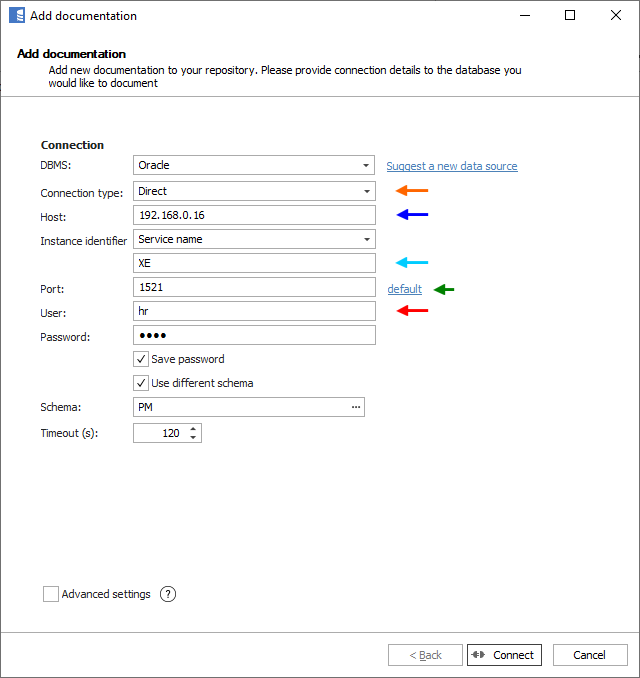
Here is a comparison with connection details in Oracle SQL Developer.
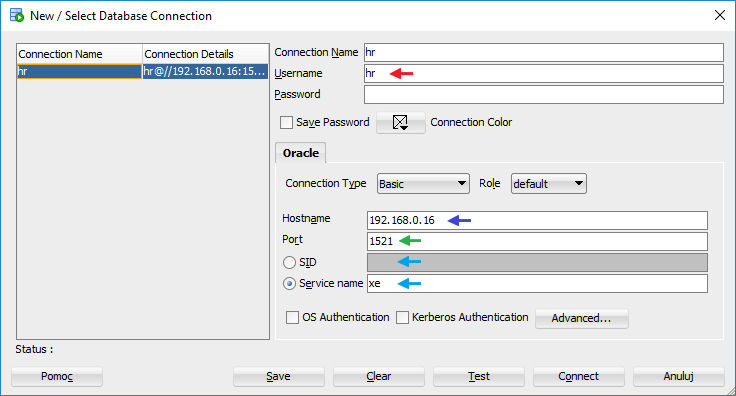
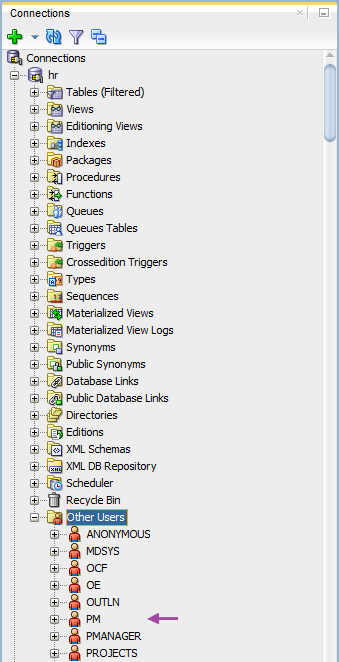
Finding connection details
If you don't know connection details you can look into \
Different, multiple schemas
By default, Dataedo reads only objects from the user's schema, but you can choose a different schema or even multiple schemas at once..
Check Use different schema option and choose the schemas you want to import from through the the list displayed when clicking the [...] button.
Saving password
You can save password for later connections by checking Save password option. Password are saved in the repository database.
Importing schema
When connection was successful Dataedo will read objects and show a list of objects found. You can choose which objects to import. You can also use advanced filter to narrow down list of objects.
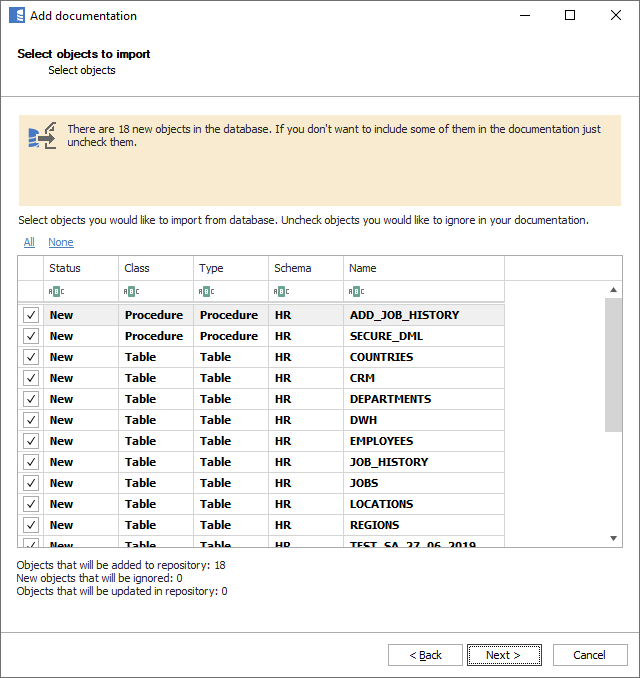
Confirm list of objects to import by clicking Next.
Next screen with allow you to change default name of the documentation under with your schema will be visible in Dataedo repository.
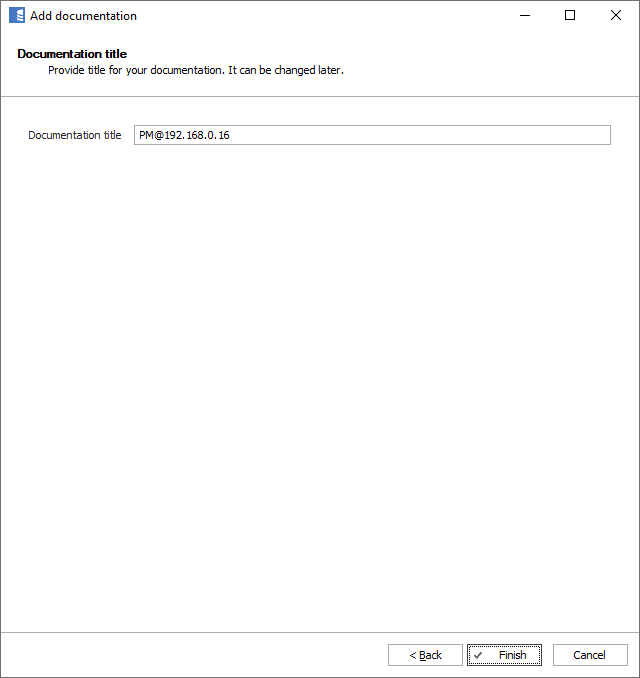
Click Import to start the import.
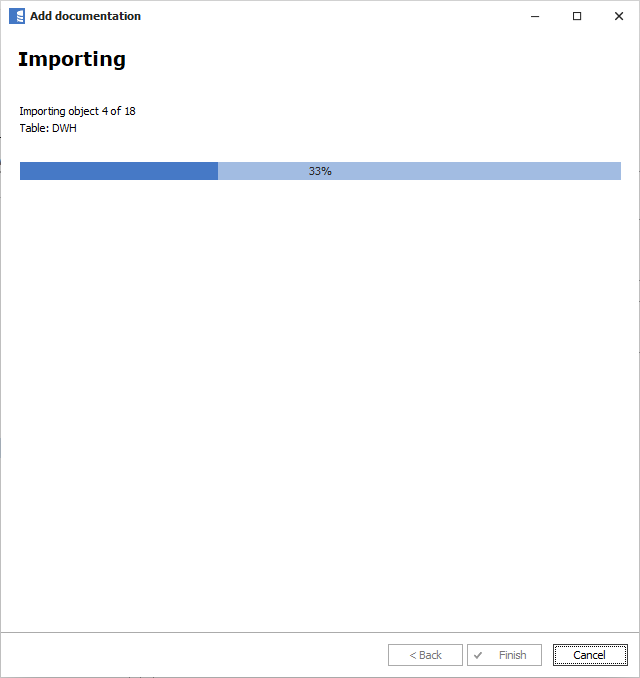
When done close import window with Finish button.
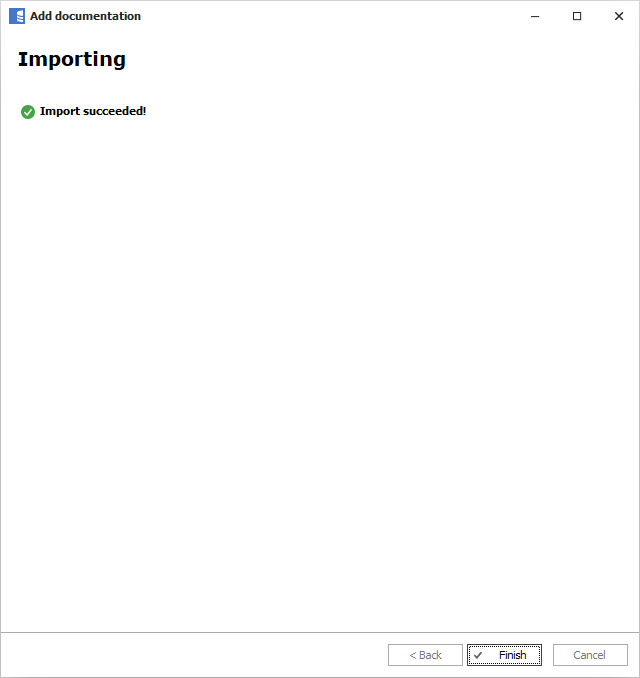
Your database schema has been imported to new documentation in the repository.

Importing changes
To sync any changes in the schema in Oracle and reimport any technical metadata simply choose Import changes option. You will be asked to connect to Oracle again and changes will be synced from the source.
Scheduling imports
You can also schedule metadata updates using command line files. To do it, after creating documentation use Save update command option. Downloaded file can be run in command line, what will reimport changes to your documentation
Oracle support
Learn more about Oracle support in Dataedo.


